Last updated November 18, 2026







Free written scope consultation - allowances, timeline, and change-order rules on paper before a single trade is scheduled
Home Remodeling Troubleshooting: Common Problems and How to Fix Them
Most remodeling problems don’t announce themselves on the day the crew packs up. They show up 90 days later, when the punch list is signed, the final payment has cleared, and you’re standing in your hallway staring at a hairline crack wondering whether it’s a defect, normal settling, or something you’re supposed to handle yourself. That uncertainty is the expensive part. Not the crack, not the squeak, not the re-caulked shower corner, but the not knowing. We’ve walked into plenty of Pomona homes where a homeowner spent $600 on a repair that should have been a callback, and just as many where a structural warning got patched over with spackle. This guide gives you a diagnostic framework so you can tell the difference before your guarantee window closes. It’s written from a Pomona contractor’s perspective, which means the advice accounts for our weather, our housing stock, and the way things actually fail here.
Styles & brands we work with
- Kitchen remodeling
- Bathroom remodeling
- Home additions & ADU
- Roofing
- Windows & doors
- Driveway & pavers
- Fence
Quick Answer
Diagnose a post-remodel problem with three questions before you call anyone: When did it appear? (day 2 vs. day 90 means very different things), where exactly is it? (door corners and window frames behave differently than field-of-wall drywall), and does it change with temperature or humidity? (a gap that opens in summer and closes in winter is material movement, not a defect). Answers to those three questions separate installation defects from normal material behavior from deferred maintenance, and they determine whether you’re making a legitimate guarantee claim or handling a maintenance item you own.
Table of Contents
- The Three-Question Diagnostic That Sorts Every Problem
- Nail Pops and Drywall Cracks After a Remodel
- Floor Squeaks After New Subfloor
- Grout and Caulk Failure in Wet Areas
- Paint Adhesion Failure on Trim and Doors
- Doors and Windows That Bind After Structural Work
- HVAC Performance Changes After Insulation or Layout Changes
- How to Document a Guarantee Claim Correctly
- Fix It Yourself or Call the Contractor Back?
- What a 365-Day Written Guarantee Should Actually Say
- Common Mistakes to Avoid
- When to Call a Professional
- Frequently Asked Questions
- The Bottom Line
The Three-Question Diagnostic That Sorts Every Problem
Before you photograph anything or send a single email, answer these three questions. They do most of the work of sorting a real problem from ordinary building behavior.
- When did it appear? A crack that shows up three days after tape and mud is a finishing issue. The same crack at day 100 is movement. A problem that appears the week you turn the heat on in November and disappears in April is thermal expansion, and it’s telling you about the material, not the install.
- Where exactly is it? Location is diagnostic. A crack running diagonally from the top corner of a door frame toward the ceiling, or one that reappears within weeks of being patched, is signaling structural movement that your contractor needs to hear about in writing. A tidy vertical seam in the middle of a large wall is usually a drywall joint.
- Does it change with temperature or humidity? In Pomona, the swing between a hot, dry August and a damp winter matters. Wood framing moves across that range. So do cabinet doors, trim joints, and hardwood floors. If a gap widens with the seasons, you’re watching physics, and the honest question becomes whether the initial installation allowed enough room for it.
Two of three answers pointing to “appeared late and near a structural corner” means you make a written claim. Two of three pointing to “changes with the weather” means you document it and watch it through a full season before demanding a rebuild. And if you’re not sure, that’s the moment to call our team at (833) 620-5046 and talk it through. A five-minute phone conversation usually saves a homeowner a week of worry. We answer the phone live, day or night, and we’d rather talk you out of an unnecessary repair than sell you one.
Nail Pops and Drywall Cracks After a Remodel
A nail pop is a small, usually circular bulge or crack where a fastener has backed slightly out of the framing, pushing the drywall mud with it. They’re common in the first year after new drywall or new framing because green lumber shrinks as it dries, and fasteners that were tight in March aren’t tight in September. In Pomona, our dry summers accelerate that shrinkage, which is why we see a cluster of pops in the first heating-and-drying cycle after a remodel.
What’s normal: a few scattered pops in the first 6 – 12 months, each maybe the size of a dime, usually on ceilings or upper walls. What’s not normal: a pop that leaves a visible fastener head protruding, or a crack that runs diagonally from a door or window corner and keeps lengthening.
- Nail pop, no protrusion: homeowner-correctable. A skim of lightweight spackle, sand, and touch-up paint handles it. Wait until the dry cycle settles in late fall so you’re not patching the same spot twice.
- Protruding fastener: not homeowner-correctable, because driving it back in without re-securing the drywall leaves it loose again. This is a callback.
- Diagonal crack from a corner: callback, and put it in writing. Diagonal cracks around openings are a framing and settlement question, not a drywall cosmetic issue.
- Crack that reappears within weeks of patching: also a callback. The movement hasn’t stopped, and patching it a second time just hides a live problem.
If you want the repair done right the first time, with a written price before anyone picks up a tool, this is the kind of small job our General Contractor in Pomona service handles, and it’s often the first step toward a larger conversation about how the room was originally framed.
Floor Squeaks After New Subfloor
Squeaks after new subfloor is nearly always the same root cause: the subfloor panel has moved against a fastener or against its neighbor, and two surfaces are rubbing. It’s rarely a defect in the flooring material itself and almost always about the substrate underneath.
What you should know is that in older Pomona homes, especially the mid-century stock near the Fairplex and the 1950s tract housing east of Garey Avenue, framing dimensions and joist spacing don’t always match what new subfloor panels are designed for. A contractor has to make decisions about blocking, glue, and fastening patterns to bridge that gap. If those decisions got skipped, the squeak shows up 60 days later.
- Isolated squeak in a doorway: often a swelling issue where the panel meets a plate. Seasonal, and it may resolve as materials dry.
- Squeak that follows a line: the panel seam. Callback.
- Squeak that moves with traffic pattern changes: a fastener issue. Callback.
- Loose floor tile with hollow taps and no squeak: thinset adhesion failure, and this one is a legitimate reinstall, not a cosmetic fix.
If the problem is happening in a bathroom, the stakes go up because the same loose substrate can compromise the waterproofing layer beneath. That’s one of the reasons our Bathroom Remodeling in Pomona work always includes a documented substrate inspection before tile goes down, and why we put the details in writing at the start.
Grout and Caulk Failure in Wet Areas
Grout is a rigid material. Caulk is a flexible one. The industry rule is simple: caulk at every change of plane (where wall meets floor, where two wall panels meet at a corner) and grout everywhere else. When a contractor grouts a change of plane, the movement that happens at that joint tears the grout, water gets in, and you’re looking at a slow leak inside a wall you can’t see.
What fails first: caulk lines in showers, especially at the base where the shower pan meets tile. Caulk has a service life of about 3 – 5 years in a wet area, so a failure at year four is maintenance, not a guarantee claim. Failure at month three is a callback, either because the joint was too wide for the caulk used or because the surface wasn’t clean and dry when it was applied.
- Look at the joint. Is the failure at the grout line (rigid, cracked) or the caulk line (soft, pulling away)?
- Check the substrate behind the joint by pressing. Is there flex? If yes, that’s a framing problem, not a caulk problem.
- Look for water staining beneath the joint. Any dark or damp line on the adjacent surface means moisture is getting behind the tile, and you stop using the shower and call immediately.
- If it’s a clean caulk failure with no water penetration and no flex, it’s a maintenance touch-up. Re-caulk with a quality 100% silicone after drying the joint thoroughly.
We’ve seen more premature shower failures in Pomona than in many places because of the way our tap water and the region’s dry ambient humidity interact with materials. Dry air makes caulk cure harder and less elastic, so caulk here can fail faster than the product label promises. If your shower was remodeled in the last year and the caulk is already pulling away, that’s worth a written callback before anything else.
Paint Adhesion Failure on Trim and Doors
Paint that peels off in sheets, chips off at the edges, or bubbles away from the surface is almost always a prep problem. Paint is a topcoat, and the bond depends on three things: a clean surface, an appropriate primer, and the right product for the substrate. Skip any of the three and adhesion fails, usually between 30 and 180 days later.
On interior trim, the most common culprit is paint applied over factory-primed MDF or wood without scuffing the primer first. On exterior trim, the culprit is often a moisture issue behind the paint (caulking that trapped water) or a latex product applied over an oil-based primer.
- Peeling in sheets across a broad area: adhesion failure, callback. Usually prep, primer, or product.
- Chipping at door edges and corners: contact wear, not a defect. Touch-up as needed.
- Bubbling or blisters: moisture trapped under the film. The source has to be found before any repaint.
- Paint that’s still soft after a week: wrong product or a cure issue. Callback.
Pomona’s afternoon heat and the high UV load on west-facing doors accelerate film breakdown, so doors that get direct sun take more abuse than the paint label assumes. If repainting is on your list, would you like a written estimate that spells out prep, primer and products line by line? That’s the standard we hold ourselves to, and it’s how a paint job lasts more than a couple of seasons. The same care applies to kitchens: our Kitchen Remodeling in Pomona projects include finish specs written into the scope so cabinetry and trim finishes don’t surprise anyone six months in.
Doors and Windows That Bind After Structural Work
Doors and windows that suddenly stick or drag after a remodel are giving you information about the building’s movement. When framing is opened up, beams are added, or a bearing wall becomes a header, the load paths through the structure change. That’s the point of the work, but it also means a door that swung freely for thirty years may need adjustment once the house settles into its new arrangement.
The first question is not “who do I yell at,” it’s “did it bind gradually or suddenly?” Gradual binding over weeks is common after structural work and often resolves with hinge adjustment and a minor plane of the door. Sudden binding, or a door that binds in multiple places at once, means the opening is racking, which is a structural follow-up, not a carpentry one.
We know this is anxiety-producing. Structural work is expensive, and a binding door feels like proof something went wrong. In our experience, more than half of these cases resolve with a hinge adjustment and a call to check the frame is still plumb. The rest are worth a written callback so the contractor can inspect the opening, not just the door.
- Mark the door edge with painter’s tape at every point it contacts the frame.
- Open and close the door slowly, watching where the tape transfers.
- Look at the reveal around the door: parallel gaps mean the opening is plumb, tapered gaps mean racking.
- Photograph the reveal with a level or tape measure in frame. Send it in writing.
HVAC Performance Changes After Insulation or Layout Changes
HVAC problems after a remodel are the sneakiest on this list because they don’t look like remodeling problems. Your house gets a new insulated wall, a new room, or a re-routed return duct, and six weeks later one bedroom runs 4 degrees warmer than the rest of the house. This is a design question, not a craftsmanship one, and it’s the homeowner’s job to raise it in writing within the guarantee window.
Things that commonly change HVAC performance after remodeling:
- Tighter envelope from new insulation or windows reduces air infiltration, which can throw off a system that was sized for a leakier house
- Return air pathways get blocked by new walls, reducing system effectiveness
- New rooms or additions change the distribution of air through the existing duct layout
- Closed cabinet or vanity runs can cut off a jump duct or passage
- Attic insulation upgrades can change the temperature of duct runs in the attic, affecting delivery temperature
Our technicians have up to 22 years of experience with these calls, and the first thing we do is measure the temperature differential across the rooms before and after, in writing. If a room that was balanced in March is 5 degrees off in July, that’s a documented change, and it’s worth opening a written conversation. We’d much rather adjust a damper or add a return than have you find out next summer that a room just doesn’t cool.
How to Document a Guarantee Claim Correctly
The quality of your documentation determines how fast and how completely a claim gets resolved. Contractors who get a clear, complete claim treat it as a callback. Contractors who get a blurry text message six weeks later treat it as a service call. The difference in time and outcome is significant.
- Photograph with a scale and a timestamp. Every photo should include something measurable (a coin, a tape measure, a ruler) and should be clearly captioned with the date. Phone cameras timestamp in the metadata, but a visible note in the frame is unambiguous.
- Write a description in plain language and send it by email, not text. Text messages disappear when a phone changes. Email creates a record. Note what the problem is, when you first noticed it, and what you’ve observed since.
- Answer the three diagnostic questions in the email. When did it appear, where exactly, and does it change with temperature or humidity. This gives the contractor the information to prioritize.
- Ask for a written response acknowledging the issue before anyone comes out. This is the step almost everyone skips. A written response confirms your claim is on record as of a specific date, which matters if disputes arise about the guarantee window.
- Keep a running log. If the problem recurs, the log is your evidence that this is a pattern, not a fluke.
Our crew treats a written claim as the start of the resolution, not the start of an argument. Call our team at (833) 620-5046 and we’ll talk through the log with you and set up a free return visit if the issue falls within your guarantee. That’s the standard: if it’s not done right, we make it right, backed in writing on every project.
Fix It Yourself or Call the Contractor Back?
The line between homeowner maintenance and contractor callback is a real line, and it’s worth knowing where it sits because a homeowner who absorbs contractor costs is paying twice for the same work.
Homeowner-correctable:
- Minor nail pop with no protruding fastener, in drywall or ceiling
- Caulk touch-up in a wet area that’s 3+ years old, no water penetration
- Touch-up paint at door edges from daily contact
- Cabinet hinge adjustment for a sagging door
- Squeaks or minor issues traced to furniture placement or daily use
Legitimate contractor callbacks:
- Diagonal cracks running from door or window corners
- A crack that reappears within weeks of being patched
- Loose tile or hollow-sounding thinset anywhere
- Water staining or dampness behind tile or under flooring
- Door or window binding with a tapered reveal (racking)
- Paint peeling in sheets or still soft after a week
- HVAC temperature differential change of 4+ degrees after a remodel
- Any electrical, plumbing or gas-fitting defect (see safety note below)
Safety note: if the issue involves a wet electrical connection, gas appliance, or any wiring inside a wall or panel, stop using it and call a qualified professional. These aren’t homeowner repairs, and they’re not the kind of thing a YouTube video solves safely.
What a 365-Day Written Guarantee Should Actually Say
“We’ll make it right” is a phrase, not a guarantee. A real 365-day written guarantee makes four commitments in specific language, and if you don’t see all four in writing before work starts, you don’t have one.
- What’s covered. The guarantee should list the covered items explicitly (installation defects, material defects, workmanship) and the exclusions (normal wear, homeowner-maintenance items, damage from other trades).
- How long it lasts. 365 days from substantial completion is a clear, checkable date. “A reasonable period” is not.
- What happens if a claim is made. The written guarantee should say a free return visit is included, and that the repair or replacement gets done at no charge inside the window.
- How you make a claim. The process, the contact, and the response window should all be spelled out. Ours is a live phone number, day or night.
When you’re comparing contractors, ask for the written guarantee up front and read it. If the contractor balks or offers a verbal “we always take care of our customers,” that’s the answer you needed. We put the written price and the written guarantee in front of every homeowner before any work starts, because the number on day one is the number on the invoice. If you’d like to see what that looks like on a project of your own, start at the Penhallow Remodeling Pomona home page.
Common Mistakes to Avoid
- Calling instead of emailing. Calls are good for scheduling, but claims made verbally are hard to date. Two sentences in an email are worth ten phone conversations when a dispute arises.
- Patching over a problem yourself and then reporting it later. Once you’ve put spackle in the crack, the contractor can’t diagnose it. Photograph first, patch second.
- Waiting until the guarantee window almost closes to report. In Pomona, that winter-to-summer swing is a diagnostic tool, and reporting early gives you a full seasonal cycle to watch the behavior.
- Accepting a verbal “we’ll get someone out there.” Ask for a written acknowledgment with a date and a window. If it’s not in writing, it didn’t happen.
- Assuming any change is a defect. Houses move. In Pomona’s climate, wood framing, trim, and cabinetry all move with the seasons. Half of the calls we take are homeowners asking about normal behavior, and we’d rather answer them than see years of worry.
- Hiring a second contractor to “fix” a first contractor’s work without documentation. If the first job had a written guarantee, a second crew fixing it can void the first guarantee. Document first, then decide.
- Ignoring HVAC, electrical or plumbing changes because they’re “not remodeling problems.” They often are, and the guarantee window is the only time to raise them with leverage.
When to Call a Professional
Call us if any of the following is true: a diagonal crack is lengthening, a shower or bathroom shows any sign of moisture behind the tile, a door binds with a visibly tapered reveal, a floor has hollow-sounding tile, or an HVAC room runs more than 4 degrees off after a remodel. Call sooner rather than later if your guarantee window has less than 60 days left, because timing affects your options. Call immediately if you smell gas, see water where it shouldn’t be, or have any electrical concern (those go to a licensed specialist, and we’ll tell you so). Penhallow Remodeling Pomona offers free estimates in Pomona, and our team answers the phone live 24/7. Call (833) 620-5046 and tell us what you’re seeing. If it’s a free second visit under a repair guarantee, there’s no service call fee and no re-inspection charge. We’d rather look at a worry and tell you it’s fine than have you sit with it for six months.
Frequently Asked Questions
A few hairline cracks in the first year are normal, especially in the dry season here, because new framing and mud shrink. Cracks that run diagonally from door or window corners, or that reappear within weeks of being patched, are not normal and should be reported in writing. If you’re not sure which kind you have, photograph the crack with a coin for scale and email it to your contractor.
A written guarantee of 365 days from substantial completion is a fair, standard term, and it should say exactly what’s covered, what’s excluded, and how to make a claim. Our 365-Day Done Right Promise puts all of that in writing before work starts. Call (833) 620-5046 to ask what the written guarantee covers on your project.
Settling shows up as small, stable cracks and modest movement that plateaus over the first year. Structural movement shows up as diagonally running cracks, tapered door reveals, and cracks that keep lengthening after patching. Pomona’s hot, dry summers and cooler winters produce noticeable seasonal movement in older homes, so the pattern over a full year is what tells you which one you’re seeing. Get an in-person look if the pattern is unclear.
Nail pops without protruding fasteners, caulk touch-ups in older wet areas, and minor paint touch-ups at doors are all homeowner-correctable. Structural cracks, loose tile, water staining, and any mechanical issue are contractor callbacks. When in doubt, document first: photos with scale, a written description by email, then decide together.
Timestamped photos with a scale in frame, a plain-language description sent by email, answers to the three diagnostic questions (when did it appear, where exactly, and does it change with temperature or humidity), and a written response from the contractor acknowledging the issue before anyone arrives. That last step matters in a dispute, and it’s the one most homeowners skip.
Yes, because tighter insulation, changed layout, and new cabinetry runs can cut off return air pathways or shift how air is delivered through the house. If one room is running 4 degrees warmer than the rest after a project, treat it as a documented change and raise it in writing. Our technicians have up to 22 years of experience with these calls, and a written measurement of the temperature differential is usually all it takes to start the conversation.
The Bottom Line
Most post-remodel problems are solvable if you diagnose them correctly and document them in writing before the guarantee window closes. Ask the three questions: when did it appear, where exactly is it, and does it change with temperature or humidity. Photograph with scale, describe it in an email, ask for a written acknowledgment, and keep a log. Fix yourself what belongs to maintenance; call the contractor back for what belongs to workmanship. The best guarantee is a written one with a specific term, clear coverage, and a named contact. If you’re looking at a problem you can’t sort out on your own, call (833) 620-5046 and let’s look at it together. Our team answers the phone live 24/7, we arrive in uniform after a background check, and every project carries the same written standard: a price before work starts, an arrival window we keep, and a 365-day promise to make it right.
Written by the team at Penhallow Remodeling Pomona.
See the difference
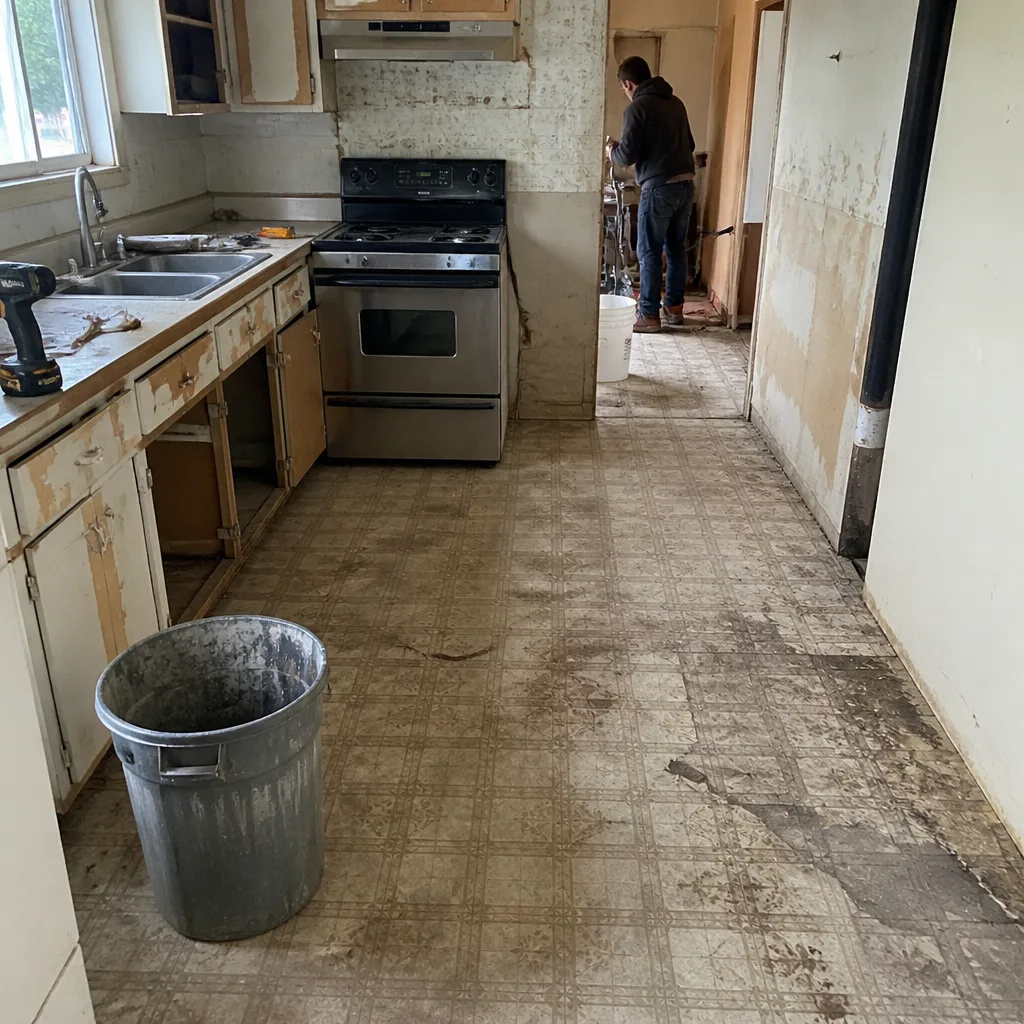 Before
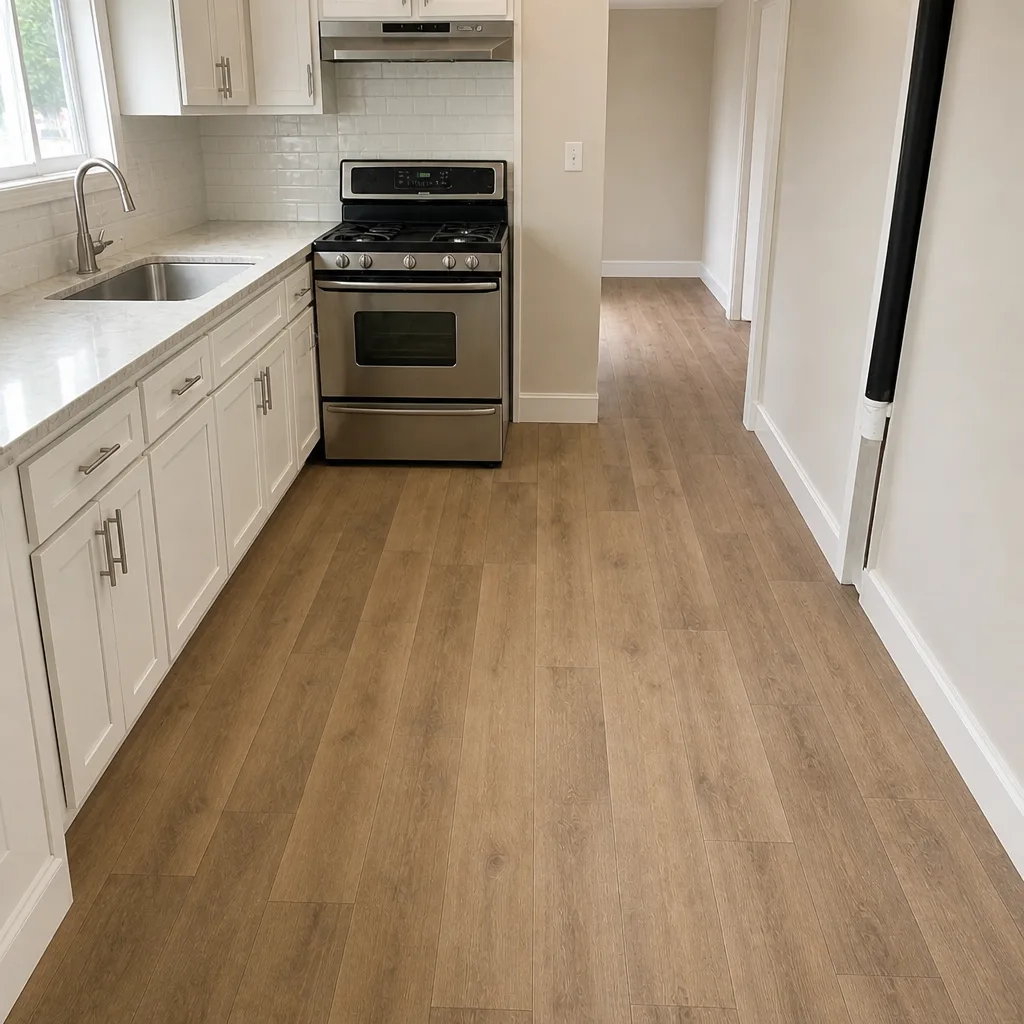 After
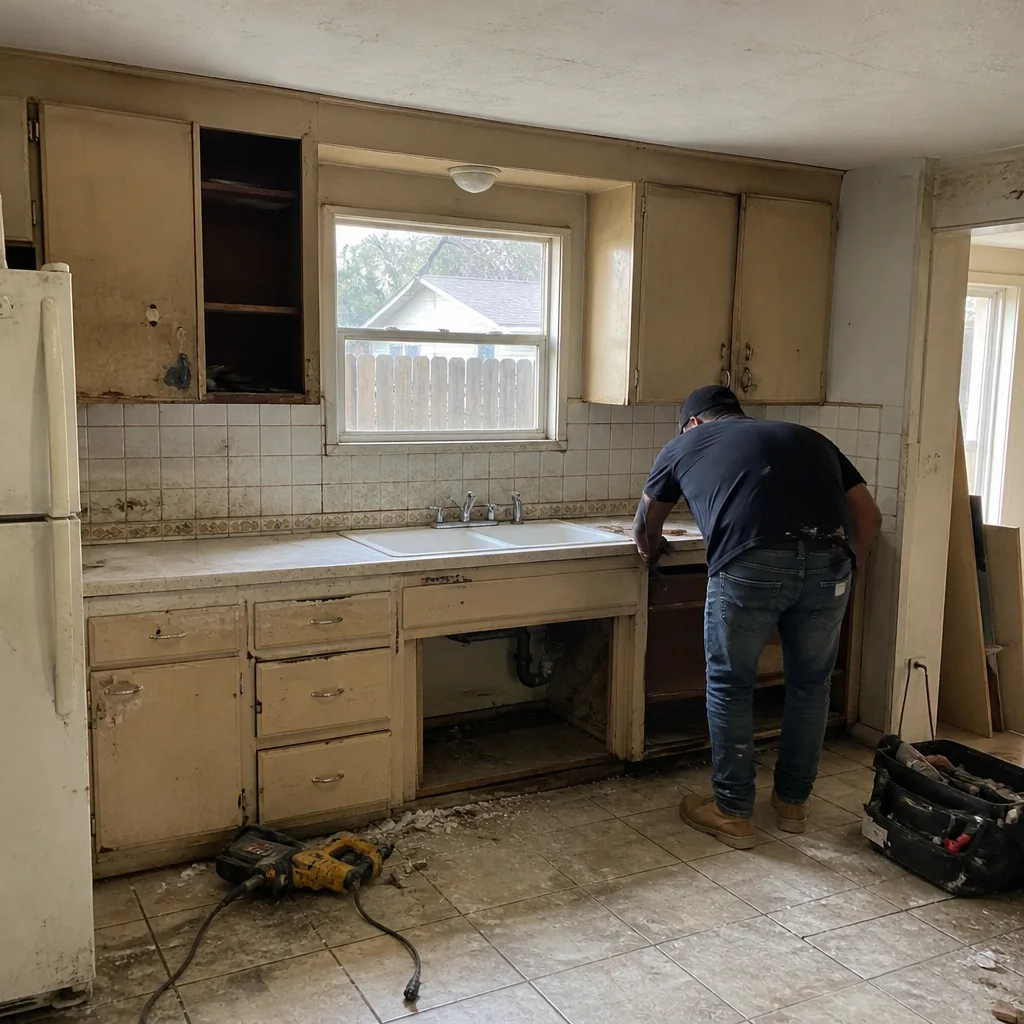 Before
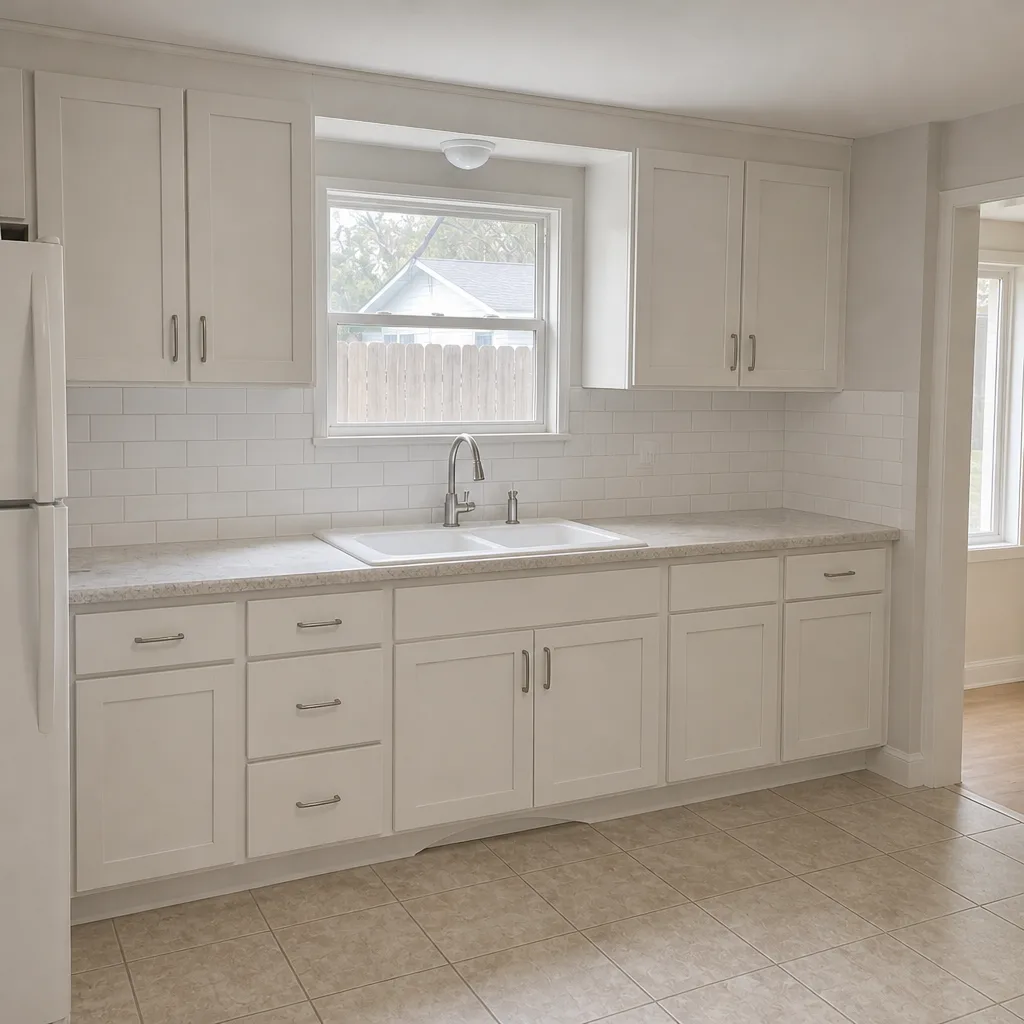 After
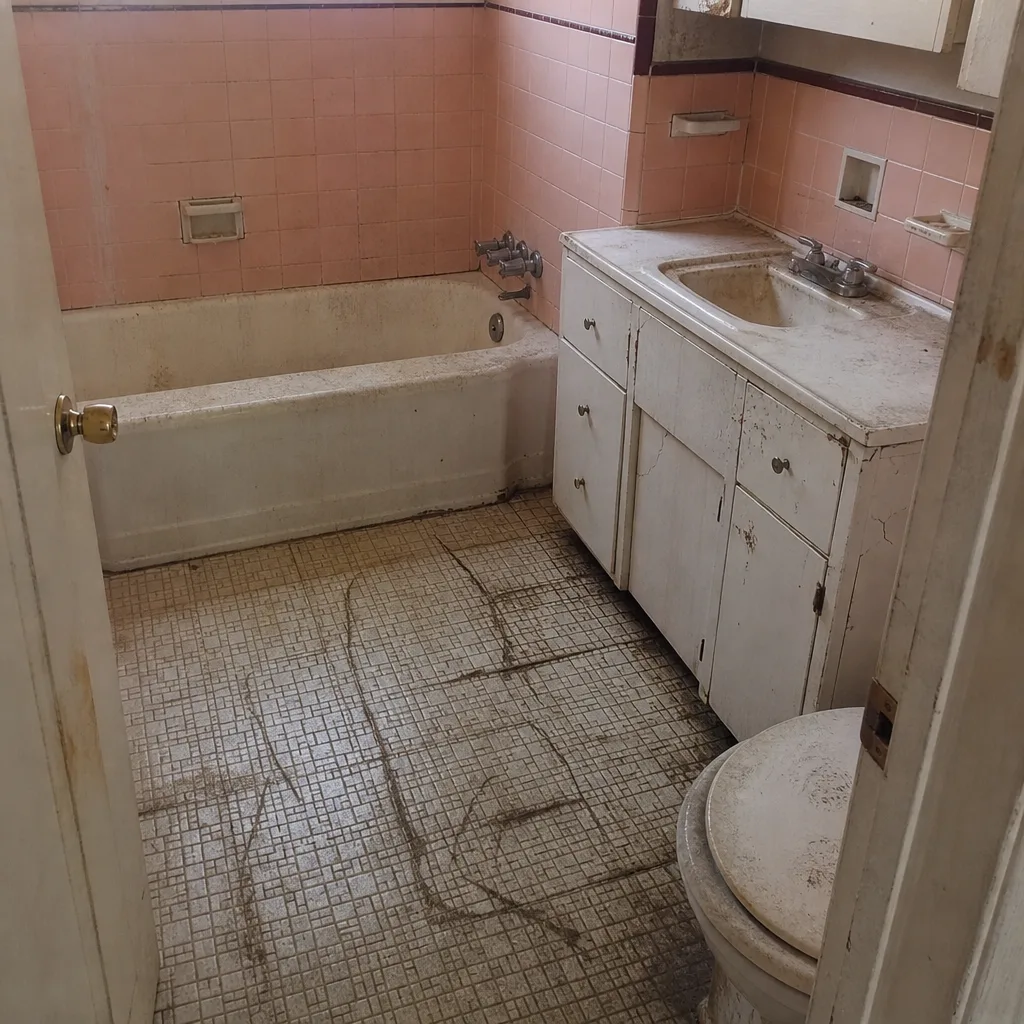 Before
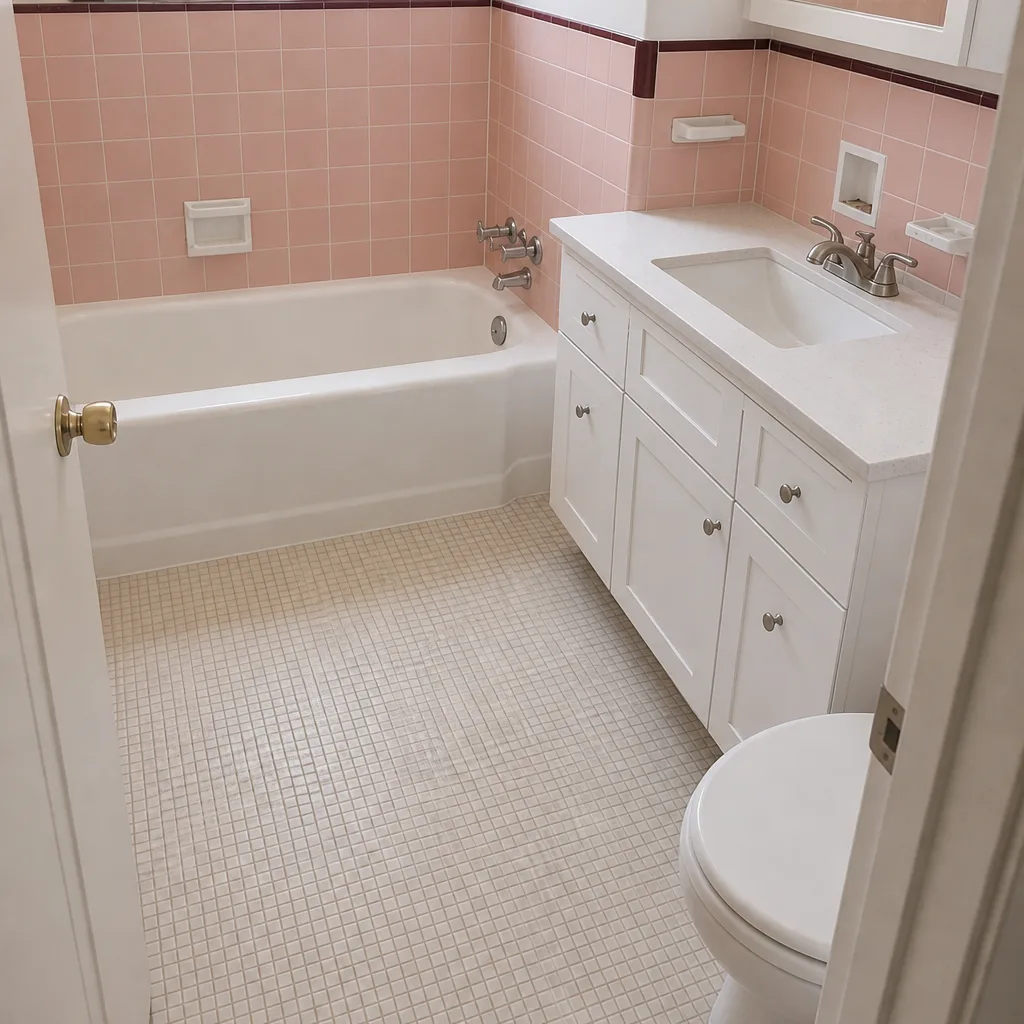 After