Last updated November 18, 2026








Free written scope consultation - allowances, timeline, and change-order rules on paper before a single trade is scheduled
Bathroom Remodeling Troubleshooting: Common Problems and How to Fix Them
A shower that leaks six months after a remodel almost always traces back to a waterproofing membrane that was skipped or rushed. Not the tile. Not the grout. Not bad luck. In our experience across Pomona, the failures we get called back to look at are installation-sequence problems: a step that got compressed, reordered, or left out because the crew was chasing a deadline. The good news is that most of these problems announce themselves early, and a homeowner who knows what the correct process looked like can identify the failure, document it properly, and get it fixed. This guide walks through the eight most common post-renovation bathroom problems, how to diagnose each one without tearing out tile first, and when the fix is cosmetic versus when the wall has to open.
Quick Answer
Most bathroom remodel problems after renovation come down to three root causes: skipped or rushed waterproofing behind tile, an exhaust fan ducted into the attic instead of outdoors, and grout or caulk installed where movement joints were required. Diagnose before you demolish. A shower leak is usually a drain-connection or pan-membrane failure, not grout, and an exhaust fan that fails inspection is almost always a short duct run. Document the failure in writing, invoke the workmanship warranty, and let the contractor open one small area to confirm before committing to a full tear-out.
Styles & brands we work with
- Kitchen remodeling
- Bathroom remodeling
- Home additions & ADU
- Roofing
- Windows & doors
- Driveway & pavers
- Fence
Table of Contents
- How to diagnose a shower leak without tearing out tile
- Why grout cracks in new tile work
- What an exhaust fan failure tells you about the duct run
- Peeling paint and bubbling drywall after a remodel
- Loose fixtures, wobbly toilets, and dripping valves
- How to invoke a workmanship warranty in writing
- Cosmetic fixes vs. opening the wall
- Pomona-specific issues: hard water, settle, and inland heat
How Do You Diagnose a Shower Leak Without Tearing Out Tile?
You diagnose a shower leak in four steps: isolate the drain, test the pan, check the supply connections, and inspect the curb. Do them in that order. The order matters because each test rules out an entire category of failure before you spend money on a destructive inspection. Roughly seven in ten shower leaks we look at in Pomona turn out to be drain-connection problems or pan-membrane failures, not grout.
- Plug the drain and fill the pan. A standard test plug plus two inches of water, left sitting for 24 hours, tells you whether the pan membrane holds. Watch the ceiling below if this is an upper-floor bathroom. Any new moisture means the pan failed and the tile has to come out – there’s no in-place fix for a compromised pan.
- Run the shower head only, with the drain open. If the leak reappears here but the pan test passed, you’re looking at a supply-line or drain-body connection, not the membrane. Both can sometimes be reached through an access panel on the opposite wall.
- Check the curb and the first course of tile. Curb failures show up as soft grout or a slight give when you press. If the curb flexes, the waterproofing behind it was likely nailed through during installation, which is a common and specific installer error.
- Look at the drain flange. A drain that was set without the proper clamping ring, or a flange set below the tile surface, lets water wick into the subfloor. That’s usually visible as a rust stain or a ring of efflorescence on the ceiling below.
If you can’t isolate the leak with these tests, call a professional before cutting anything. Our bathroom remodeling in Pomona team runs these diagnostics as part of a free estimate visit.
Why Does Grout Crack in New Tile Work?
Grout cracks in new tile for three reasons: normal structural movement at a change of plane, insufficient thinset coverage behind the tile, or grout used where caulk was required. Two of those are installer error. One is normal. Knowing which one you have saves you from a pointless repair.
Normal movement shows up as a single hairline crack along a caulk joint – the inside corner where the wall meets the floor, or where the shower wall meets the tub deck. That joint should never have been grouted. Industry standard (TCNA) calls for a flexible sealant at every change of plane. If it cracked because it was grouted, that’s installer error and the fix is a five-dollar tube of color-matched caulk, not a re-tile.
Abnormal cracking – the kind that means you should be worried – looks different. Cracks that follow a straight line across the field tile, or grout that crumbles into powder when you scratch it with a key, point to thinset coverage of less than 80 percent behind the tile. The tile is moving because it isn’t fully supported. That’s a remove-and-reset, and grout alone won’t fix it.
- Hairline crack at a change of plane: normal movement. Caulk it.
- Straight-line cracks across the field tile: insufficient thinset coverage. Remove and reset.
- Crumbling grout that powders off: grout mixed too dry or applied to a dusty substrate. Re-grout, and require cement board substrate with a proper moisture barrier behind it.
- Cracks only near the drain: the drain wasn’t properly bedded or the hole was cut too large for the flange.
In Pomona, we see a fourth pattern: grout failure concentrated on south-facing exterior walls, where summer thermal cycling puts extra movement on the substrate. That’s the one case where a premium grout like a single-component urethane is genuinely worth the upgrade.
What Does an Exhaust Fan Failure Signal About the Duct Run?
An exhaust fan that “fails” – fogs mirrors, doesn’t clear steam, or ices up the roof in winter – almost always has a short or incomplete duct run behind it. The fan itself is rarely the problem. Ducting is.
There are four common duct-run errors that cause fan failures:
- Terminated in the attic, not outdoors. The most common failure. The installer cuts a hole in the ceiling, runs a flexible duct a few feet, and stops. Moisture dumps into the attic where it condenses on the roof deck and, eventually, on your ceilings.
- Insulated duct swapped for bare flexible duct. Bare duct in a cold attic condenses on the outside of the pipe. Insulated duct is required in unconditioned space.
- Run length over the manufacturer’s maximum. Most residential fans spec out around 25 to 40 equivalent feet of duct, including elbows. Two 90-degree elbows count as 10 to 15 feet. Long runs need a higher static-pressure-rated fan, not a bigger one bolted to the same duct.
- Undersized duct. A 4-inch duct behind a fan rated for 6-inch duct strangles airflow even if the length is fine.
If your fan can only be turned on when the bathroom door is cracked, or if the mirror fogs even with the fan running, the duct run probably fails. In Pomona’s heat, an under-ducted fan also lets humidity sit in the wall cavity, which is what causes the next problem: peeling paint on the ceiling above the shower.
Why Is Paint Peeling and Drywall Bubbling After a Bathroom Remodel?
Peeling paint on a bathroom ceiling is nearly always water vapor trapped inside the wall cavity or under the paint film. It is not a paint-quality problem. Re-painting will peel again in the same spot within four to six weeks if the moisture source isn’t addressed.
The two moisture sources we find most in Pomona bathrooms:
- An under-ducted exhaust fan (see the previous section). The moisture from every shower has to go somewhere. If it isn’t going out the roof, it’s condensing inside the wall above the shower.
- Missing vapor barrier behind the drywall. California code requires a vapor retarder behind the substrate in a wet wall assembly. If the drywall was replaced without one, or if cement board was installed without a membrane behind it, moisture migrates into the painted surface and lifts the film.
Drywall bubbles that appear as soft, rubbery blisters under the paint are a distinct problem: they usually mean a slow supply-line leak behind the wall dripping into the paper facing of the drywall. Press a bubble gently. If it’s soft and moves water, shut off the fixture and call a pro before the drywall paper turns black.
Why Do Fixtures Get Loose After a Remodel?
A toilet that wobbles, a shower valve that drips, or a towel bar that pulls out of the wall within a year of installation usually points to one of three installation choices: a toilet set on an uneven flange, a cartridge installed without the required pre-flush of the supply line, or a towel bar anchored into drywall without blocking behind it.
Toilets are the most common. A toilet rocks because the closet flange sits uneven with the finished floor, or because the flange was set below the floor surface and the wax ring is acting like a wedge instead of a seal. Rocking toilets leak at the base, and in Pomona, a leaking toilet base is a top-five cause of subfloor rot we get called in to repair. A properly set toilet shims level, silicone seals the base, and there’s no wobble to begin with.
Shower valves: Kohler, Moen, Grohe, and Delta cartridges are all excellent but they share one requirement – the supply line has to be flushed of debris before the cartridge is installed. We can’t tell you how many drips we’ve fixed by pulling a cartridge and finding drywall dust, solder beads, or copper shavings inside it. That’s a two-minute install step the installer skipped.
How Do You Invoke a Workmanship Warranty in Writing?
You invoke a workmanship warranty with a dated written request that names the failure, describes the symptom with photographs, references the contract or warranty document by its language, and asks for a specific response within a specific window. It should be in email or certified letter – not a voicemail, not a text. A contractor who’s serious about the guarantee will respond; one who isn’t will stall on a phone call forever.
What documentation actually makes a contractor respond:
- A dated photo series showing progression. One photo of a stain isn’t proof; a photo from week one, week three, and week six shows the problem is active.
- A moisture meter reading, or a photo of one. A $30 pin meter from any hardware store turns “it feels damp” into a number the contractor has to answer.
- The exact section of the warranty being invoked. Quote the language back. If the warranty says “water intrusion through the shower assembly,” use that phrase. It signals you’ve read the document and expect the response it requires.
- A specific ask with a deadline. “Please contact us within ten business days to schedule an inspection at no charge.” That’s how a written guarantee works on the homeowner side, and it’s how it should work on ours too.
At Penhallow Remodeling Pomona, every job comes with a written guarantee, the 365-Day Done Right Promise, and a free return visit if a repair fails – no service call, no re-inspection fee. That’s the standard we think every homeowner should expect, and it’s in writing on every project we do. If you’re shopping for a contractor for an upcoming bathroom, ask to see the warranty language before you sign anything.
Which Bathroom Failures Are Cosmetic vs. Open-the-Wall Serious?
Knowing which failures you can patch and which require opening the wall keeps you from paying for a full tear-out you didn’t need – or, worse, patching over a problem that rots your subfloor. Here’s the breakdown we use.
- Cosmetic (patch and monitor): hairline cracks at change-of-plane joints, a foggy mirror with a working fan, one loose towel bar, a scuffed cabinet, a single crack in a grout line near a corner.
- Cosmetic but worth documenting: a slow-failing exhaust fan, a dripping cartridge, a toilet that rocks but doesn’t leak. These should be repaired under warranty, but they aren’t emergencies.
- Open-the-wall serious: any leak that reached the ceiling below, a soft spot in the shower pan underfoot, drywall bubbles under paint, a shower drain that pools water around the flange, or a bathroom floor that flexes when you step out of the tub.
- Full tear-out: a shower pan that failed the plug test, a curb that flexes under pressure, or a supply-line leak that’s been active for more than a few days (rotted subfloor is almost guaranteed by then).
On the “cosmetic but worth documenting” tier, it’s tempting to grab a tube of Sakrete or a hardware-store caulk and call it done. Sometimes that’s honestly the right move for a hairline crack, and we’ll tell you so. What we don’t want you to do is caulk over a drain-connection leak or a shower pan that’s already compromised. Patched-over moisture becomes rot, and rot on a second-floor bathroom in Pomona translates into a ceiling repair on the floor below.
Pomona-Specific Issues: Hard Water, Soil Movement, and Inland Heat
Some failures are exaggerated by where you live. Pomona’s water is hard – 12 to 16 grains per gallon on average – and that changes how fixtures and glass wear after a remodel. Shower glass in a Pomona bathroom needs a squeegee habit and a four-dollar water softener cartridge in the shower head, or the glass will etch permanently within about eighteen months. It’s the single most common cosmetic complaint we hear from recent remodel clients.
The second is soil movement. Large parts of Pomona and neighboring Claremont, La Verne, and San Dimas sit on expansive clay soils that move with seasonal moisture. That’s why cure-through and caulk joints at change of plane are not optional here – they’re mandatory. A tile installer who grouts an inside corner instead of caulking it will see it crack within one wet-dry cycle, sometimes within a month.
On materials: kitchen and bath cabinets from KraftMaid and Wellborn, quartz from Cambria, Silestone, or Caesarstone, and fixtures from Kohler or Moen all carry their own manufacturer warranties. That’s a useful layer of protection, but it only applies to the product, not the install. The install warranty is what gets you a return visit when the tile work fails, and it’s the layer most homeowners forget to check before signing. We don’t carry everything – nobody should – but we do specify the brands with strong warranty terms because they stack with ours instead of undercutting it.
If you’re looking at a broader scope than a bathroom, our team also handles kitchen remodeling in Pomona and larger whole-home renovation work, and we’re happy to talk through the sequence on a combined project where a plumbing issue in the bath affects the kitchen wall below.
Common Mistakes to Avoid
- Caulking over a leak. A tube of caulk fixes a grout crack. It doesn’t fix a drain-connection or shower-pan leak, and it hides the problem just long enough for the subfloor to rot.
- Assuming a grout crack means a bad install. Some cracks are normal movement at a change of plane. Read the crack pattern first.
- Skipping the plug test. This is the single cheapest diagnostic in a bathroom remodel – a $15 test plug and two inches of water – and it rules out the costliest failure.
- Calling a warranty claim by voicemail. Phone calls disappear. Emails with dated photos and a specific deadline get a real response.
- Hiring on verbal price alone. The number quoted before demo and the number on the invoice should match. If a contractor won’t put the price in writing before picking up a tool, walk away.
- Re-tiling over a failed pan. If the pan membrane failed, the tile has to come out. A cosmetic fix on top will fail in the same place within a year.
- Ignoring the duct run when replacing a fan. A new fan behind an old 4-inch duct is a more expensive version of the same problem.
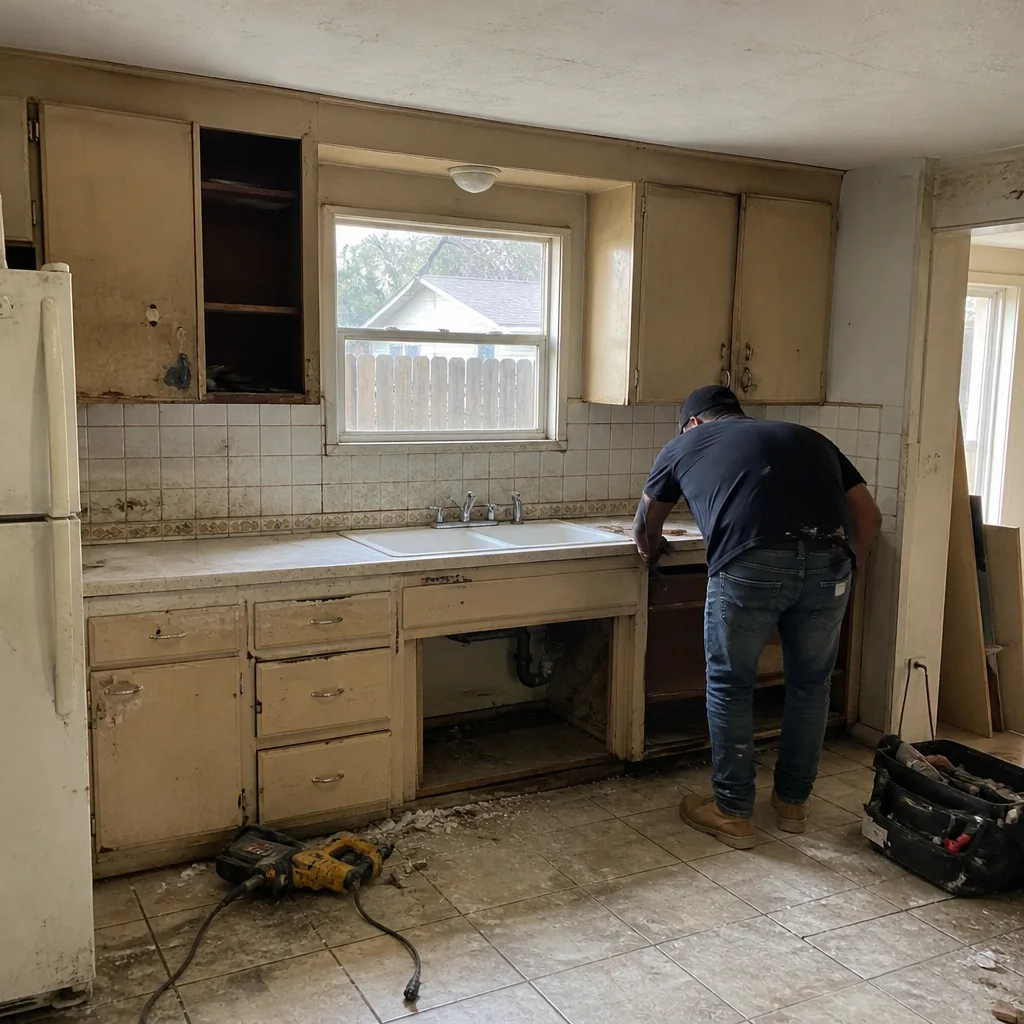
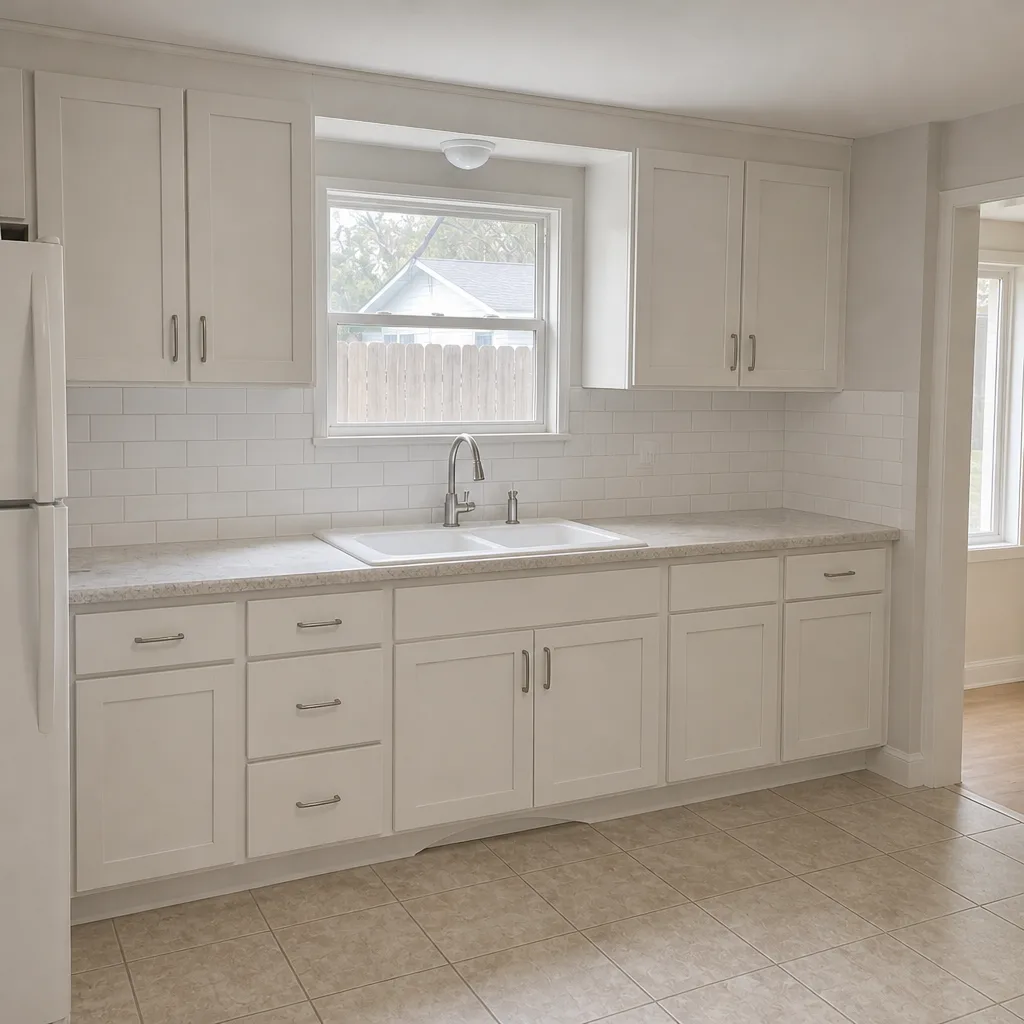
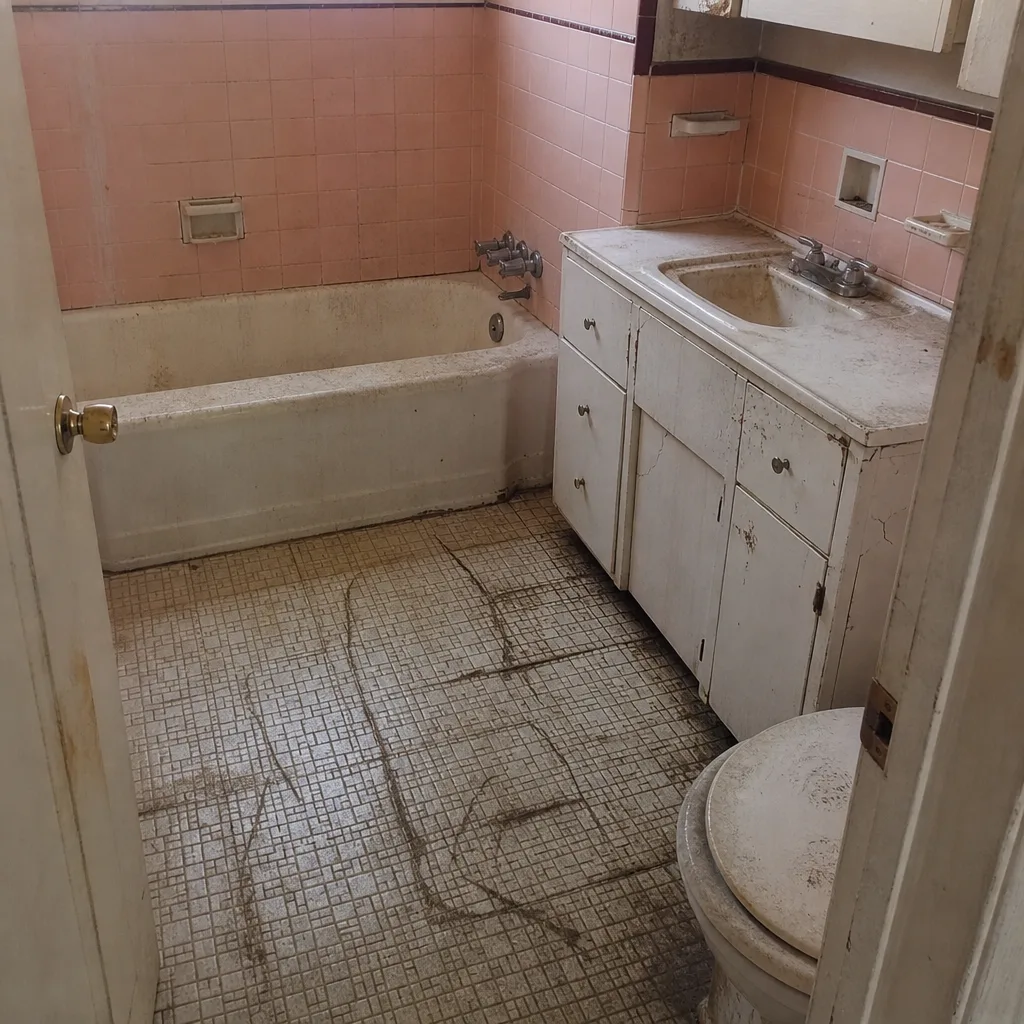
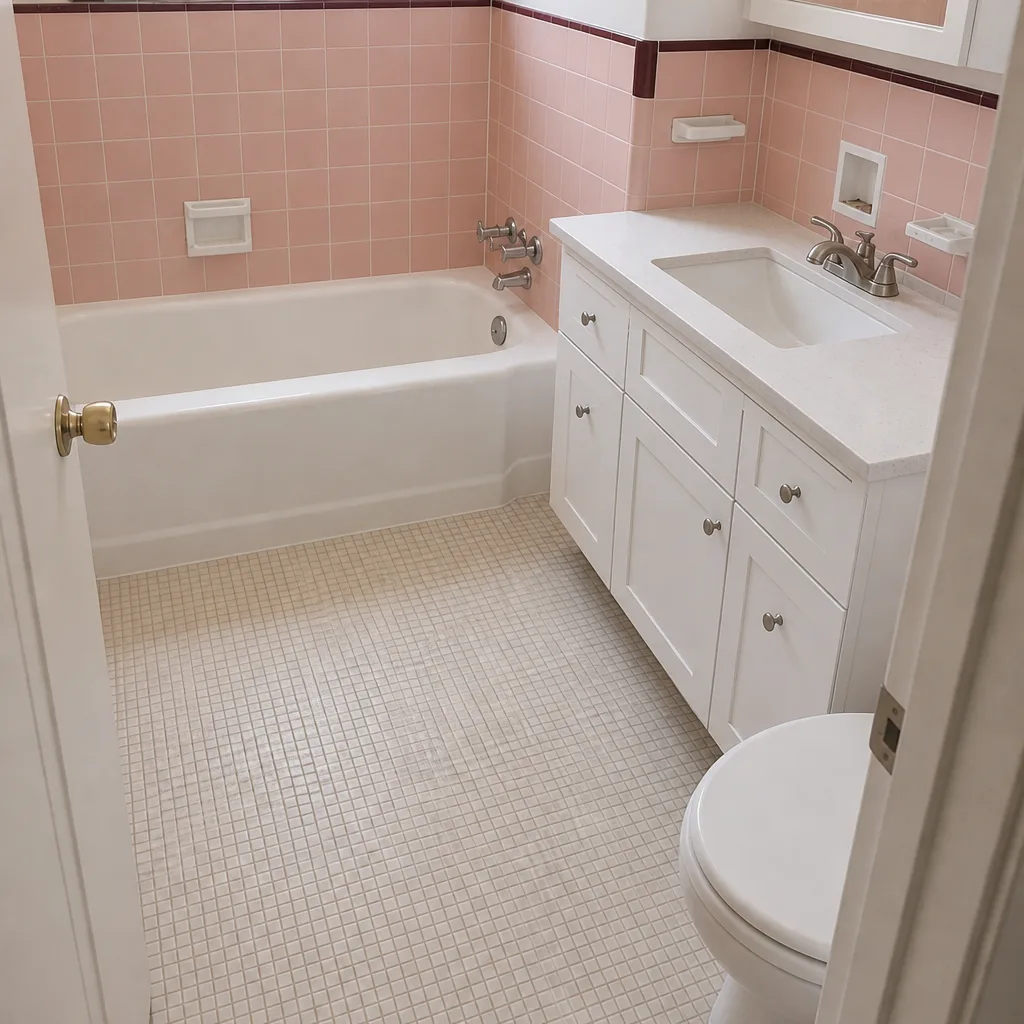
See the difference
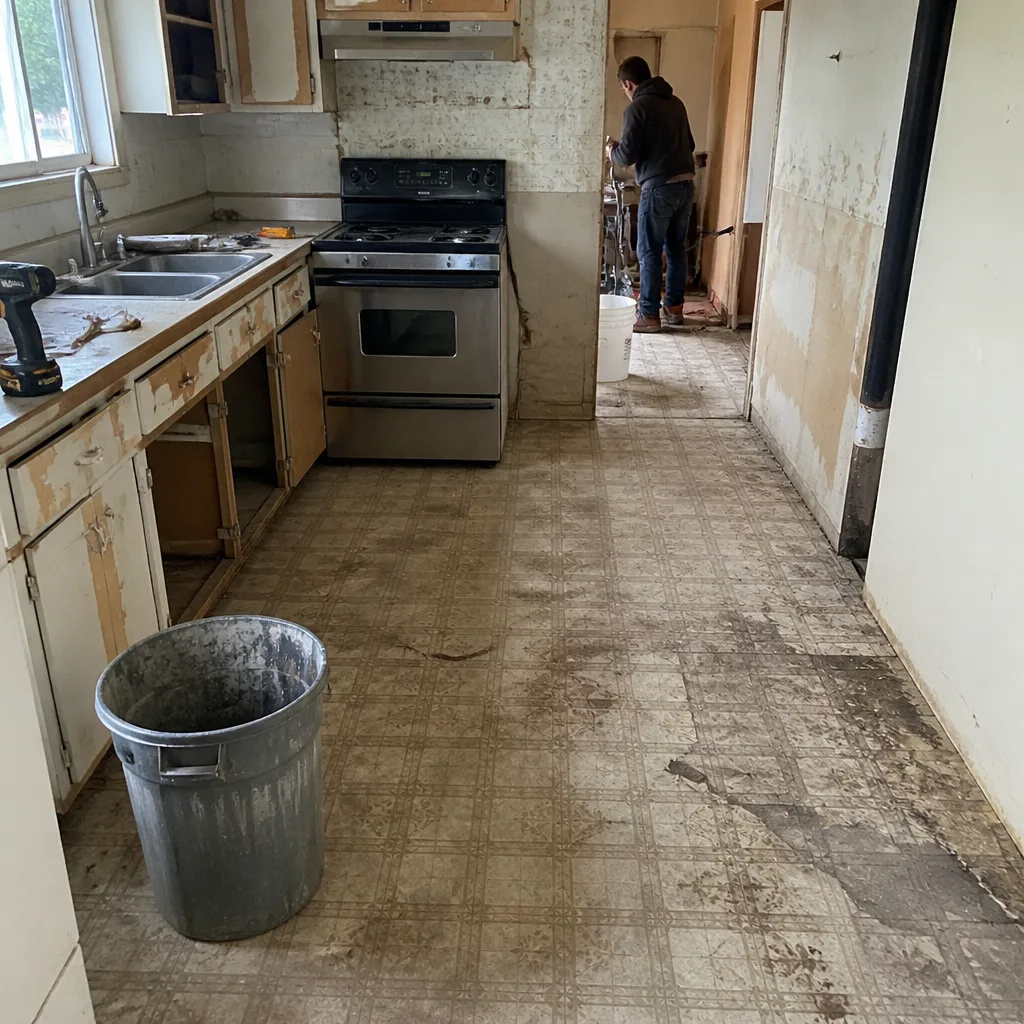 Before
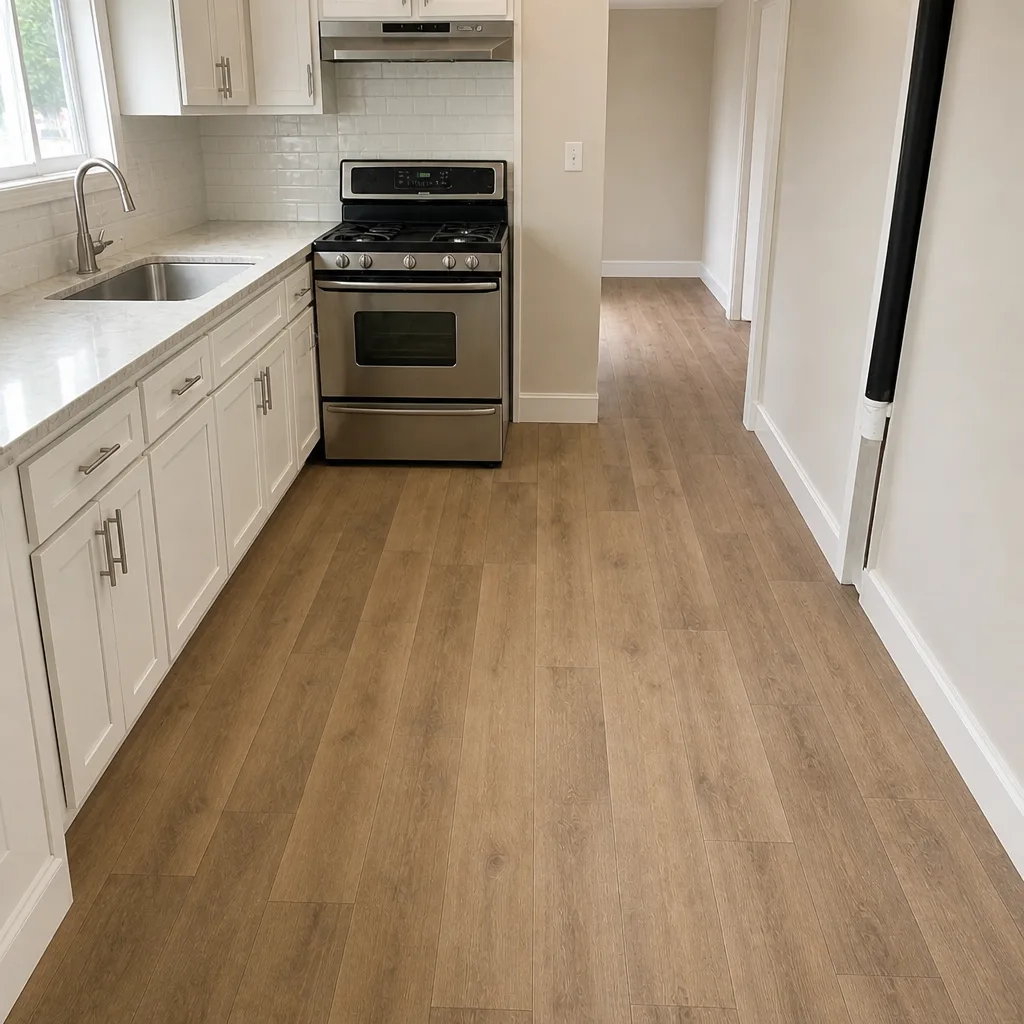 After
 Before
 After
 Before
 After
When to Call a Professional
Call a professional when the leak has reached the ceiling below, when the shower pan fails the plug test, when a bathroom floor flexes underfoot, when drywall bubbles under paint, or when a warranty claim on a recent remodel has gone unanswered for more than two weeks. Also call if you don’t know the sequence the original install was supposed to follow – that’s what diagnostic visits are for, and pulling the wrong tile in the wrong order costs more than calling.
Penhallow Remodeling Pomona offers free estimates in Pomona, and our technicians – background-checked, uniformed, and experienced up to 22 years – can tell you within an hour whether a problem is a one-tile fix or an open-the-wall repair. Call (833) 620-5046 to schedule your free estimate. A live person answers, day or night.
Frequently Asked Questions
Run the plug test first. Fill the shower pan with two inches of water and leave it for 24 hours. If it leaks, the pan membrane failed. If it doesn’t, run the shower head with the drain open – a leak there points to supply line or drain-body connections, not the tile. Grout alone almost never causes a leak that reaches the ceiling below; it’s the symptom, not the cause.
It should, and any reputable warranty will. A shower pan that fails within the guarantee period is precisely what a workmanship warranty exists for. The key is invoking it in writing with dated photos and quoting the exact warranty language back to the contractor. Call (833) 620-5046 if you’d like to talk through your specific warranty situation.
The duct run behind the fan is likely short, undersized, or terminated in the attic instead of outdoors. The fan itself is rarely the problem. Check where the duct actually exits the house – if you can’t see a wall or roof vent on the exterior, the duct is missing its outdoor termination, and that needs correcting before it causes ceiling damage.
Most installation-related failures show within the first six to twelve months, and the worst ones – pan leaks, drain-connection leaks – show within ninety days. A problem that appears in year three or later is more likely to be wear or a fixture issue than an install failure. That timing matters because it’s exactly why the 365-Day Done Right Promise window is twelve months, not ninety days.
No. A hairline crack at a change of plane is a caulk fix. A crack that follows a straight line across the field tile, or crumbly grout that powders off, is a thinset coverage issue and that section needs to come out and be reset. The whole shower only comes out if the pan membrane has failed. Diagnostic first, decide second.
Patching the symptom instead of addressing the source. A Pomona bathroom caulked over a slow drain leak in August becomes a rotted subfloor and a ceiling repair in the room below by the following spring. Call (833) 620-5046 for a free estimate and a real diagnosis before you patch anything that touches water.
The Bottom Line
Most bathroom remodel failures are installation-sequence failures, and that’s actually good news. Sequence problems are diagnosable and, when documented in writing, usually fixable under the workmanship warranty. Run the plug test on any shower leak before you call anybody. Read the crack pattern before you re-grout. Check where the exhaust duct actually exits before you buy a new fan. Document with dated photos and quote the warranty language back to the contractor. And when in doubt about whether the fix is cosmetic or open-the-wall serious, call for a free estimate rather than guess. In Pomona, that call is (833) 620-5046.
Looking for the bigger picture on how we approach bathroom and kitchen projects? Start with our bathroom remodeling service page, or read up on our work as a general contractor in Pomona for larger scope projects.
Related reading
- Bathroom Remodeling in Pomona – written pricing, install sequence, and what to expect on a full bathroom project.
- Kitchen Remodeling in Pomona – the same warranty standard applied to cabinet, countertop, and plumbing work.
- General Contractor in Pomona – when a bathroom problem crosses into whole-home scope.
- Penhallow Remodeling Pomona home – start here to see how we structure every project.
Written by the team at Penhallow Remodeling Pomona.